Haiden Hibbert
Creating a successful online course requires more than just great content. A well-structured outline is key to to ensuring that you stay on topic during the course creation process and deliver content that is both engaging and impactful for your students. In this post, we’ll walk you through the steps to create an effective online course outline and provide you with free wireframes to help you get started!
Download free online course wireframes!
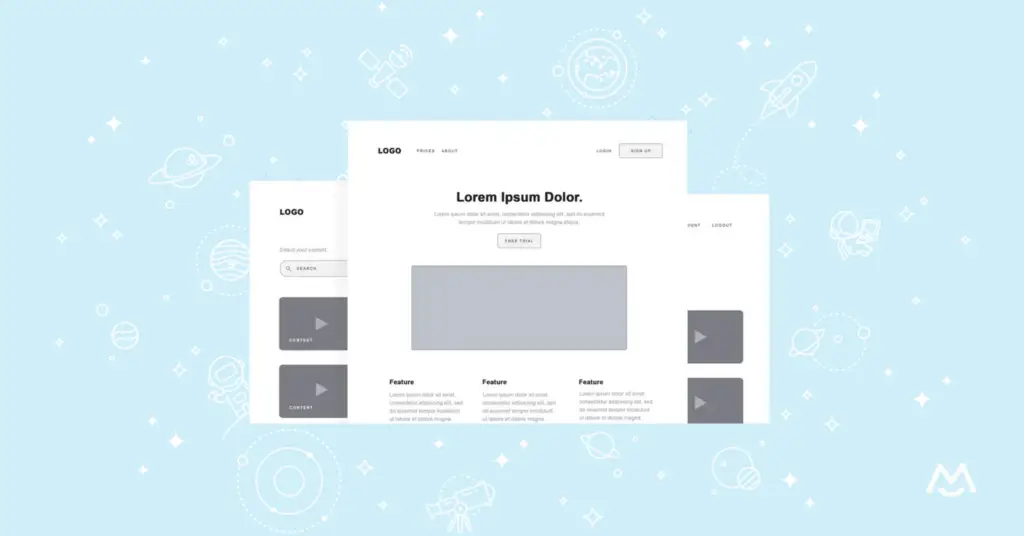
Download these free wireframes and use them as a blueprint when mapping our your online course membership site. Tested by the pros, these wireframes are a roadmap to success.
Table of Contents
Step 1: Define your course goals and objectives
Before you start outlining your course, it’s important to identify your target audience and define the learning outcomes you want your students to achieve. Ask yourself, “Who is this course for, and what do I want them to learn by the end of it?” Jot down these goals in a bulleted list to help you create focused and relevant content.
Step 2: Break down your objectives into modules
Once you have your course goals and objectives in place, it’s time to break them down into modules. Each module should cover a specific topic or skill that contributes to the overall learning outcomes. As you’re crafting your topics, consider the flow of information and how each module builds upon the previous one.
Step 3: Come up with 2-3+ subtopics for each module
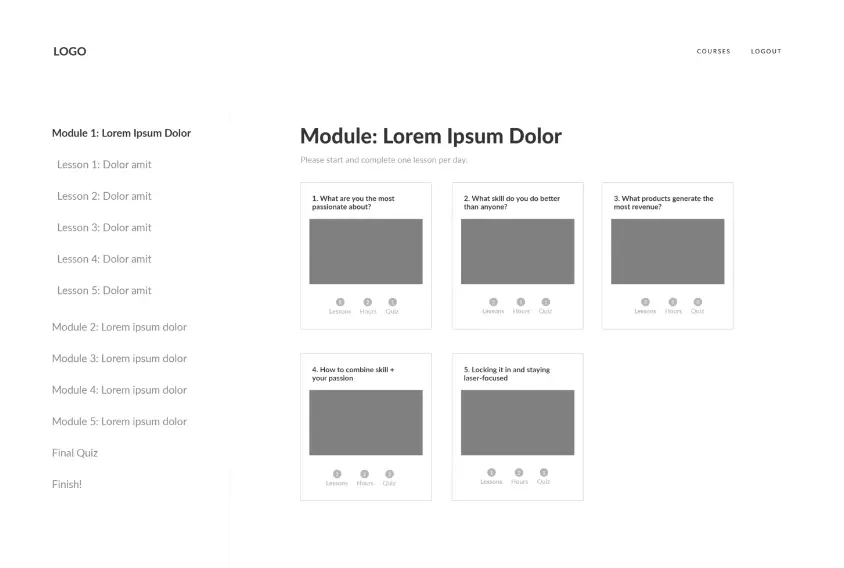
With your modules defined, it’s time to dive deeper and create lesson topics. Each module should have 2-3 or more subtopics that explore different aspects of the main idea. These subtopics will form the basis of your individual lessons.
Step 4: Outline your module/lesson content
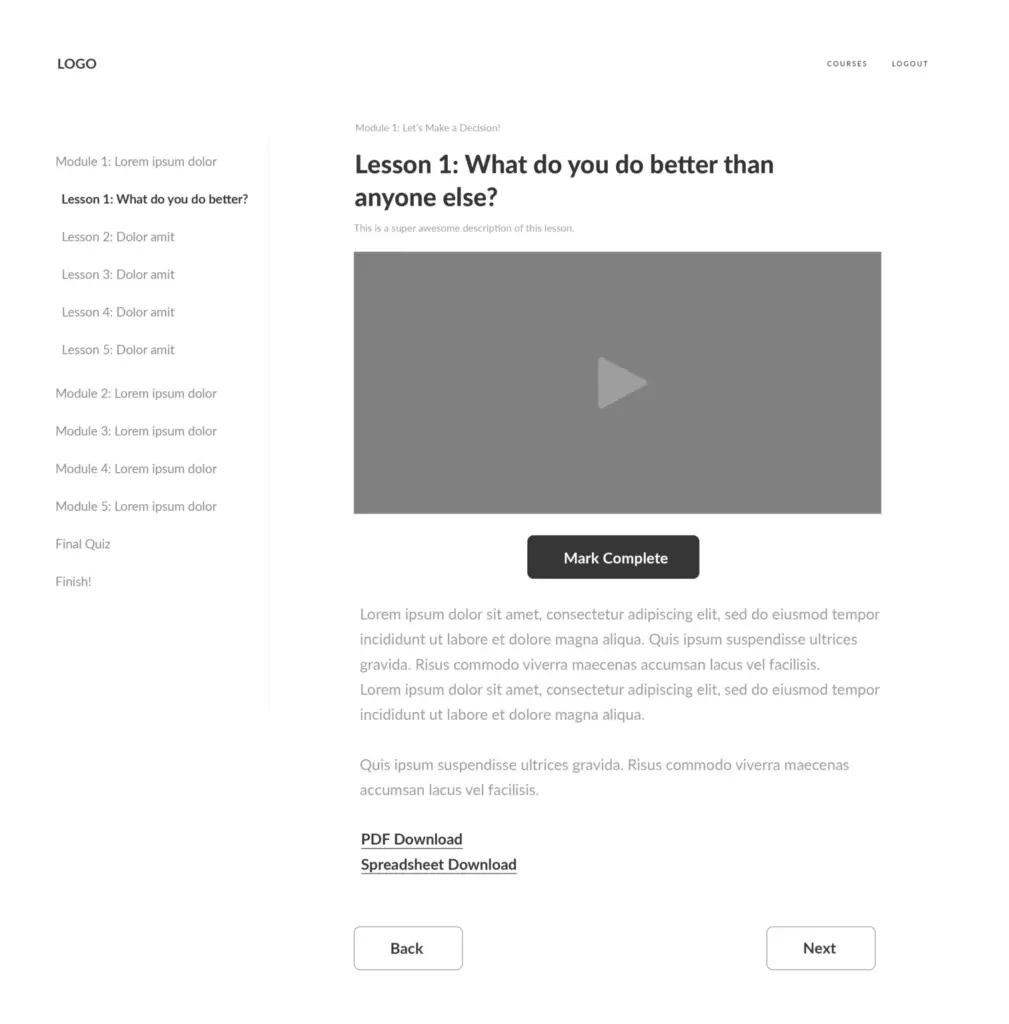
Now that you have your modules and lessons outlined, it’s time to identify the content that you plan to include in each lesson. This step is key to making the course creation process go smoothly and help you determine where to allocate your time/resources. The most popular types of content to include in courses are:
- Videos
- Screen recordings
- Slides
- Quizzes
- Certifications
- Practice activities/action items
- Free downloads, like worksheets, guides, ebooks, spreadsheets, etc.
Online course outline wireframes
To help you visualize the structure of your online course, we’ve created free wireframes!
These wireframes include a module page, lesson page, quiz page, and navigation menu options. Use them to map out how your course will be structured on your website (or pass them along to your designer!).
Online course outline example
To give you an idea of what a course outline might look like, here’s an example for a course on Sewing for Beginners.
Objectives:
- Learn basic sewing techniques and skills
- Create simple to advanced sewing projects
- Understand how to read sewing patterns and choose materials
Module 1: Sewing Basics
- Lesson 1.1 – Introduction to Sewing and Materials (Video, Free Download: Fabric and Notions Guide)
- Lesson 1.2 – Threading the Machine and Basic Stitches (Video, Practice Activity)
- Lesson 1.3 – Finishing Seams and Pressing (Video, Quiz)
Module 2: Simple Projects
- Lesson 2.1 – Sewing a Pillowcase (Video, Free Download: Pillowcase Pattern)
- Lesson 2.2 – Sewing a Tote Bag (Video, Free Download: Tote Bag Pattern)
- Lesson 2.3 – Troubleshooting Common Issues (Screen Recording, Quiz)
Module 3: Advancing Your Skills
- Lesson 3.1 – Reading Sewing Patterns (Video, Free Download: Sample Patterns)
- Lesson 3.2 – Adding Zippers and Buttons (Video, Practice Activity)
- Lesson 3.3 – Continuing Your Sewing Journey (Audio, Free Download: Resource Guide)
Setting up your online course
Now that you know how to outline your course content, let’s talk about the best way to launch it when you’re ready to share it with the world!
MemberSpace allows you to build your course on your own website, giving you complete control over the structure, design, and functionality, so you aren’t limited to the capabilities of an online course platform.
Here’s how it works:
- Create a MemberSpace account for free.
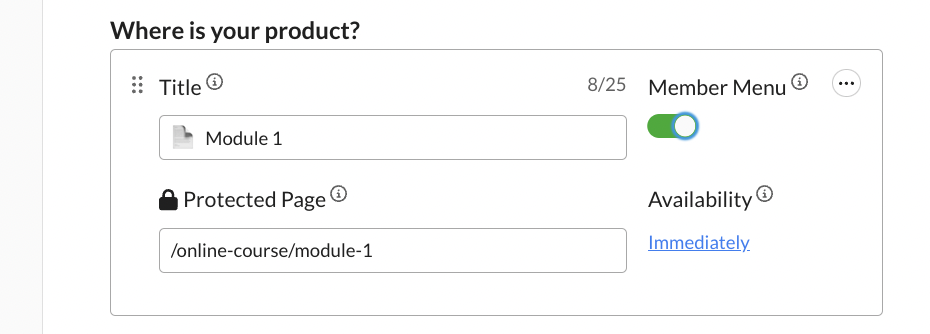
- Add your online course materials to pages on your website.
- Restrict access to those pages with MemberSpace.
4. Set a price for your online course.
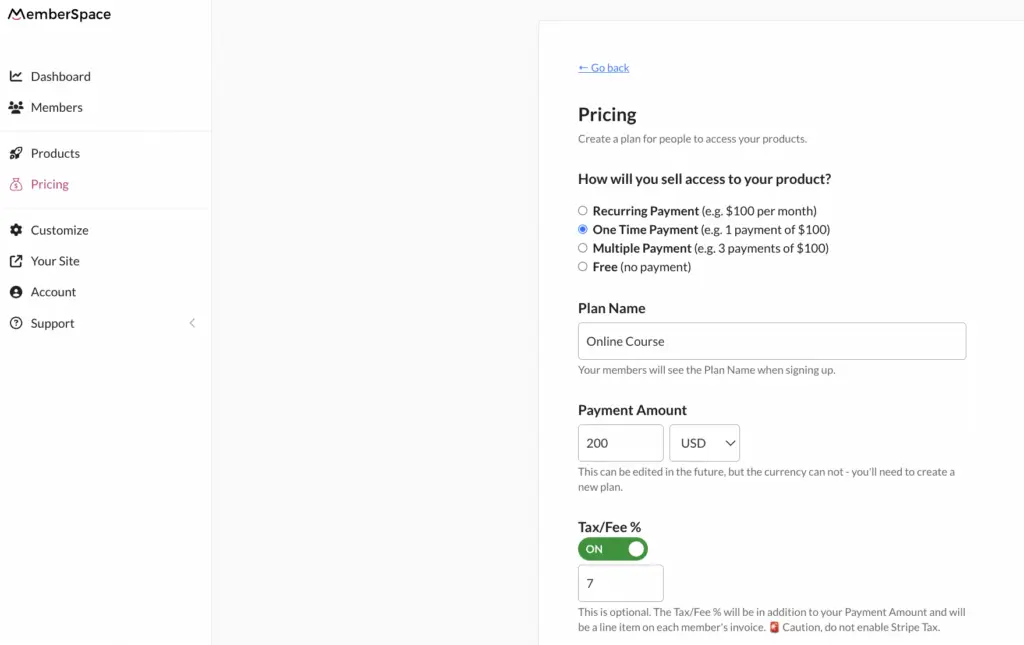
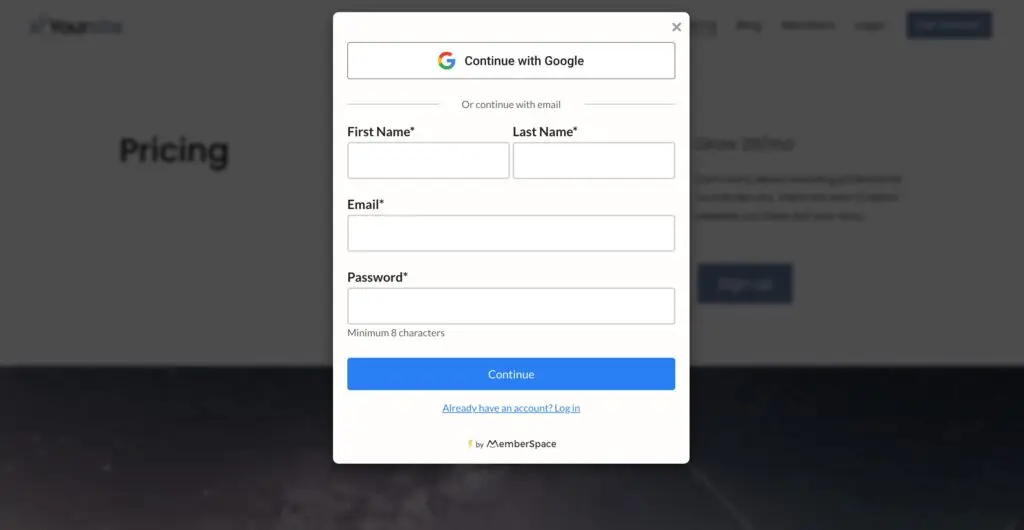
Once you’ve set up your online course with MemberSpace, students can use the signup form on your website to create an account and pay for access!
Final Thoughts
Creating a well-structured online course outline will save you effort in the long run and ensure that your content is valuable and easy to navigate for your students. By defining clear objectives, breaking them down into modules, and outlining lesson content, you’ll have a solid foundation for your course!
And when it finally comes time to launch your course, consider using MemberSpace to host it on your own website. With MemberSpace, you have full control over your course structure, design, and pricing, allowing you to create a unique learning experience tailored to your audience. Try it free today!
Download free online course wireframes!
Download these free wireframes and use them as a blueprint when mapping our your online course membership site. Tested by the pros, these wireframes are a roadmap to success.


