Paid facebook groups

How to Create Paid Facebook Groups – Accept Payments for Your Private Community

Creating a private, paid Facebook Group is a great way for creators and entrepreneurs to build an engaged online community and monetize their expertise. And with nearly 1.8 billion users, Groups remains one of the top platforms for online communities (even despite Facebook’s declining popularity!). 

So, how do you start charging members to join? The easiest way to create paid Facebook Groups is to sell access through your website and use a membership platform like MemberSpace to process payments. 

There are tons of benefits to this approach: 

  • You have total control over your pricing and membership offerings, so you can offer your community additional perks like workshops, a content library, or an online course
  • Requiring payment to join ensures that your members are genuinely interested in your group (AKA no spammy signups!)
  • By only providing the group link to paying members, your community will be more secure and easier to moderate
  • Many potential members already use Facebook, making it easier for them to engage with your content.

Create your paid Facebook Group!

The easiest way to accept membership payments or one-time charges for digital products like online courses, communities, content libraries, and more — all from your own website!

Get started for free! 5 minutes to set up.

Table of Contents

Step 1: Set up a private Facebook Group

If you don’t have your group set up already, you’ll need to create one and set it to “hidden” so people cannot find the community unless they have then link. Then, turn on membership approval so you can moderate who is able to join. 


When opening up your Facebook Group, be sure to set it to Private and Hidden to ensure only paying members are able to view it.

Step 2: Install MemberSpace on your website

To ensure only paying community members can access your Facebook Group, you’ll need sign up for MemberSpace for free and connect it to your website (it works with any CMS and takes just a few minutes to install!).  

Once it’s installed, you’ll see a Member button the bottom right corner of your website. This is where your community members will be able to login/signup to access your paid Facebook Group. 

To install MemberSpace, all you need to do is add a snippet of code to your website. We have install instructions, so no tech experience needed!

✨ Don’t have a website? You can still use MemberSpace to create your paid Facebook Group! When you sign up, simply indiciate that you don’t have a website and we’ll set up a free, one-page site for you with our partners at Pop Site. 

Step 3: Add your Facebook Group link to MemberSpace

In this step, you’ll use MemberSpace to create a signup/login area on your website so paying members can access your group. 

First, create a new Space and click Add Content. You’ll need to choose the link option and add the URL for your Facebook group. This will require members to sign up and pay for your community before they get access to the group link.

adding paid facebook group to memberspace
After you create a new Space, click Add Content and select the Link option. Then paste in your private Facebook Group link.
setting up paid facebook group on memberspace
When someone signs up on your site, they'll get access to your Space and click on the Facebook Group link to visit your group.

Step 4: Set a price for your paid group

MemberSpace integrates directly with Stripe, so it’s easy to accept payments securely on your website. Recurring payment is the most common option for online communities, but you can also choose from multiple payment, one-time payment, and free. 

When someone goes to signup for access to your group, they’ll be prompted to pay via credit card, Apple Pay, or Google Pay. 

setting a price for private facebook group
MemberSpace allows for lots of billing flexibility, so you can determine how to charge customers, how often, what day of the month, etc.
When a member goes to signup on your site, they'll have to fill out a payment form like this.

Step 5: Add your signup link to your website

Once you’ve created pricing your pricing plan, grab the Signup link from your plan and add it anywhere you’d like people to be able to join your paid group – CTA buttons on your website, in your social media bios, in email campaigns, etc. When someone clicks the link, they will sign up and pay for access to your group and then get access to the group URL. 

paid facebook group signup link

There are a few other ways to share your group with new members, as well: 

  • Option 1: Automatically redirect them to a members-only page that contains a link to the group, or redirect them directly to your Facebook Group. You can do this when you set a price for community access. Members will then request access and you’ll approve them (knowing the requests are only coming from those who paid and received the link via your signup process).
Send new members to any URL after they signup, like your Facebook Group or a landing page dedicated to your group.
  • Option 2: Send out a welcome email to new community members with a link to the group. This can be automated with MemberSpace to send after someone signs up on your website. Like option one, members will request access and you’ll approve them. 
Join private Facebook group
Automatically send out a welcome email with information about your community and a link to join the Facebook Group.
 
  • Option 3: Add members on Facebook after they sign up through your website. 

Paid Facebook Group Example – The Social Broker

The Social Broker membership community is a great example of how to create a successful paid Facebook group. By using MemberSpace, this community offers members access to a private group, along with other perks like coaching, guest speakers, customizable templates, and workshops. This model not only provides a sense of exclusivity and value for members but also generates a steady income stream for the business.

Social Broker Paid Facebook Group
The Social Broker paid Facebook Group offers members tons of perks, like guest speakers, workshopts, coaching, and custom training.

Paid Facebook Group FAQ

What is a paid Facebook group?

A paid Facebook group is a private Facebook Group that members must pay to access. Instead of allowing anyone to join for free, you charge a one-time or recurring fee and only share the group link with paying members. This helps you monetize your community, reduce spam, and attract more engaged members.

Can you create a paid Facebook group directly on Facebook?

No. Facebook does not offer a built-in way to charge for group access. To run a paid Facebook group, you need to accept payments outside of Facebook and then give paying members access to the private group.

How do you accept payments for a paid Facebook group?

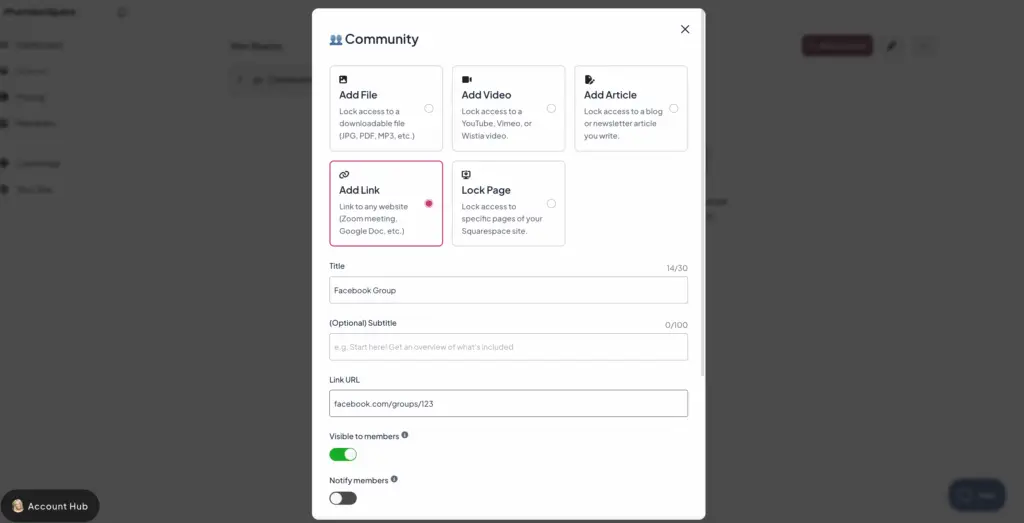
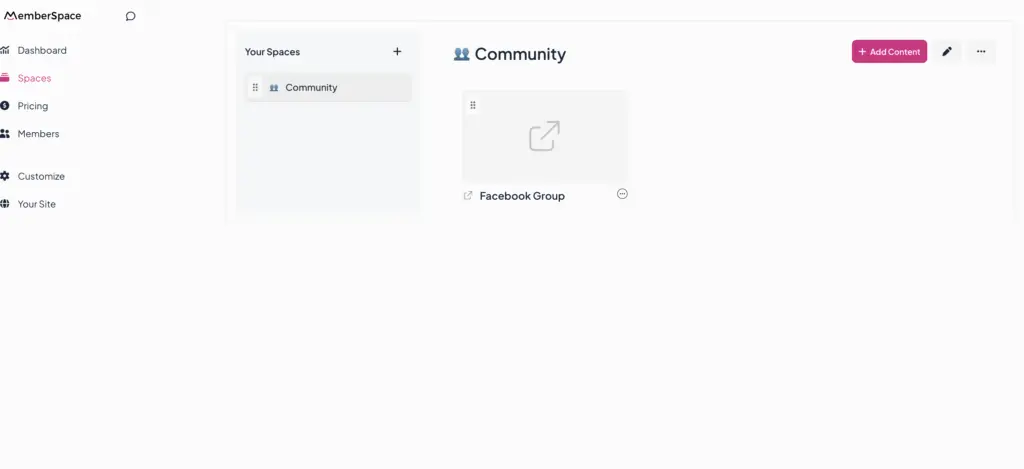
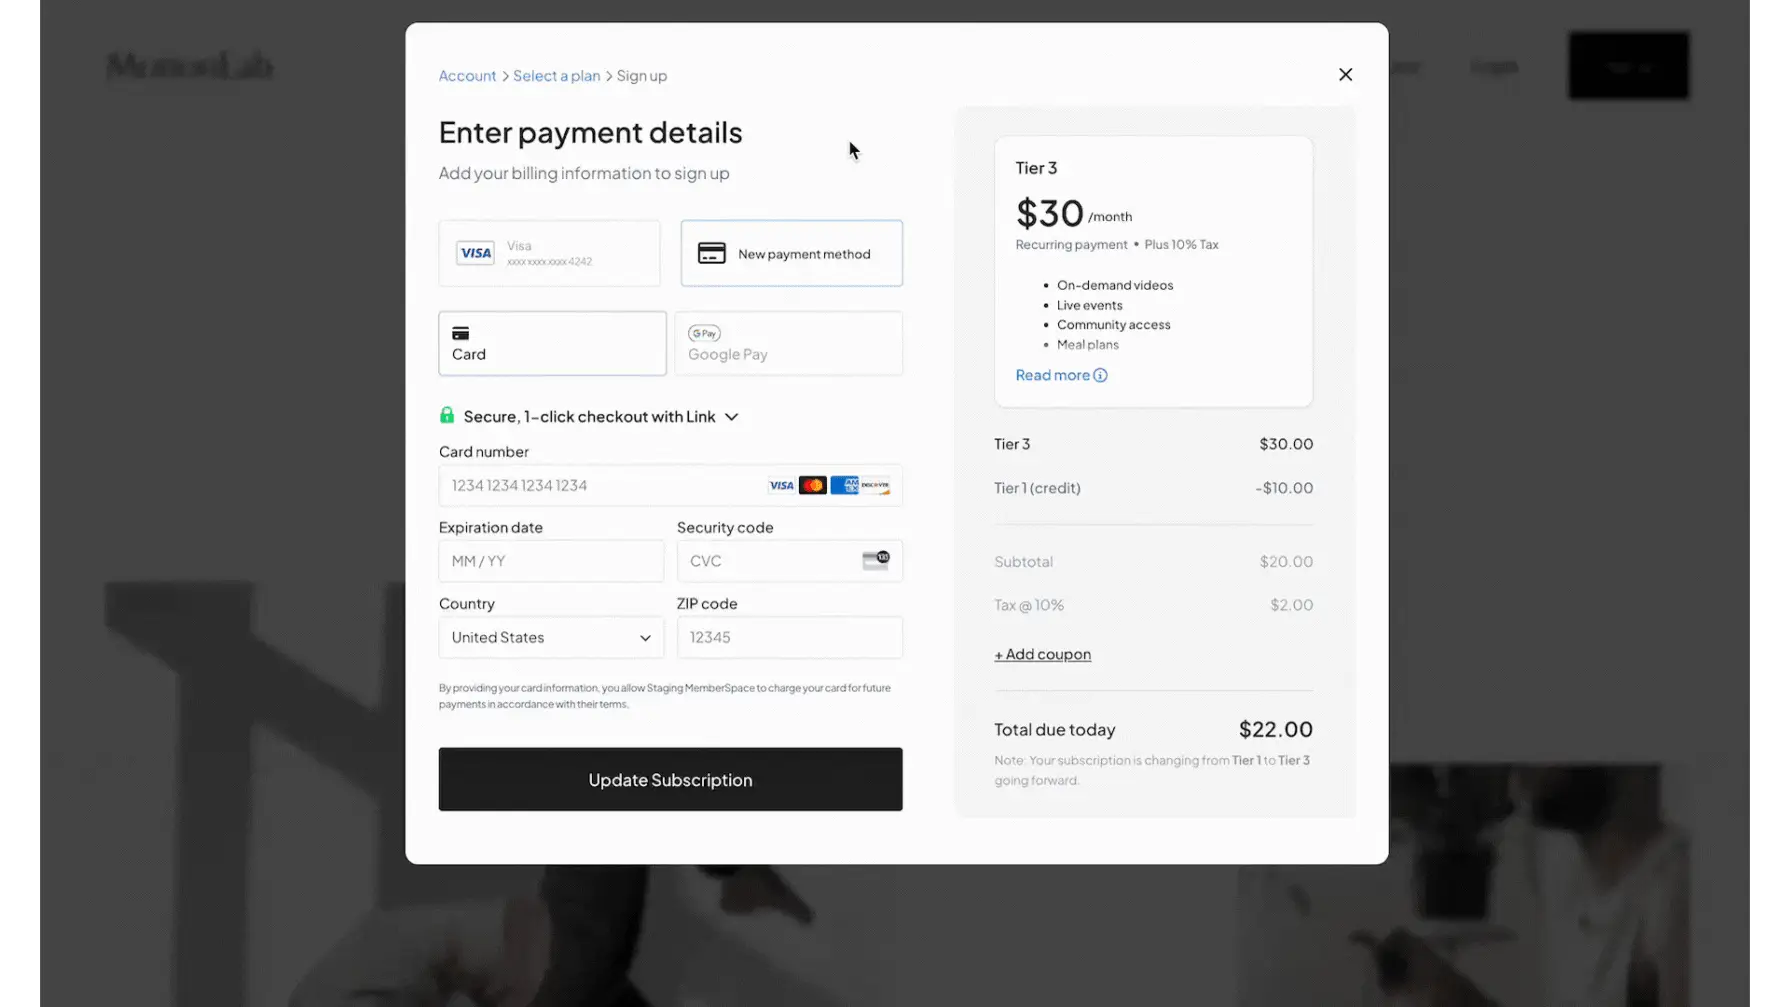
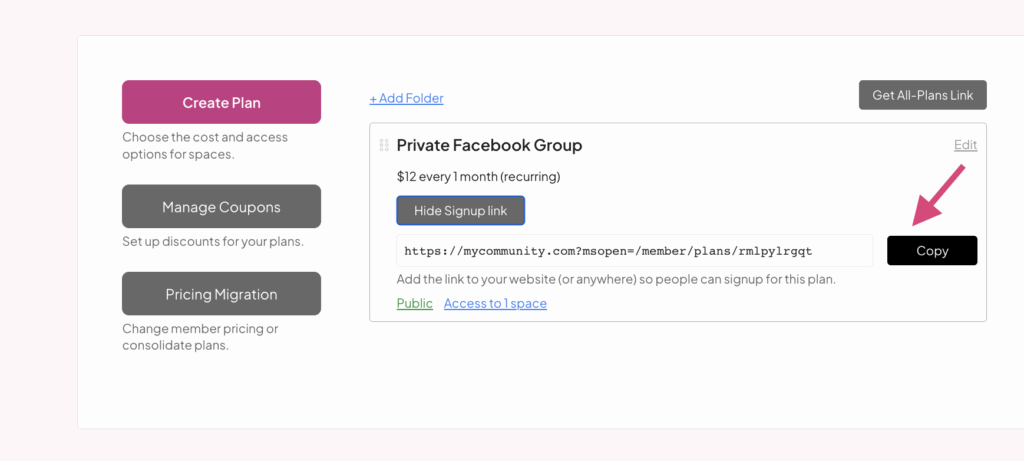
The easiest way to accept payments is through your own website using a membership platform like MemberSpace. You sell access on your site, require members to sign up and pay, and then provide the Facebook Group link only to paying members.

Do I need a website to run a paid Facebook group?

Yes. Since Facebook doesn’t handle payments for groups, you’ll need a website to collect payments and manage member access. The good news is that this works with any CMS or website builder, including Squarespace, Webflow, Wix, WordPress, and custom-built sites.

If you don’t have a website, MemberSpace can create one for you with our partners from Pop Site. 

Does a paid Facebook group work with any website platform?

Yes. You can create a paid Facebook group using any CMS as long as you have a website where people can sign up and pay. Membership tools like MemberSpace work across platforms, so you’re not locked into a specific website builder.

What’s the best pricing model for a paid Facebook group?

Most paid Facebook groups use recurring subscriptions (monthly or yearly), but one-time payments also work well for short-term communities or challenges. Many creators bundle group access with bonuses like workshops, templates, content libraries, or coaching to increase the value.

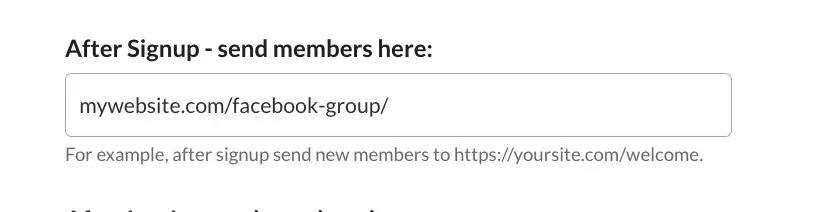
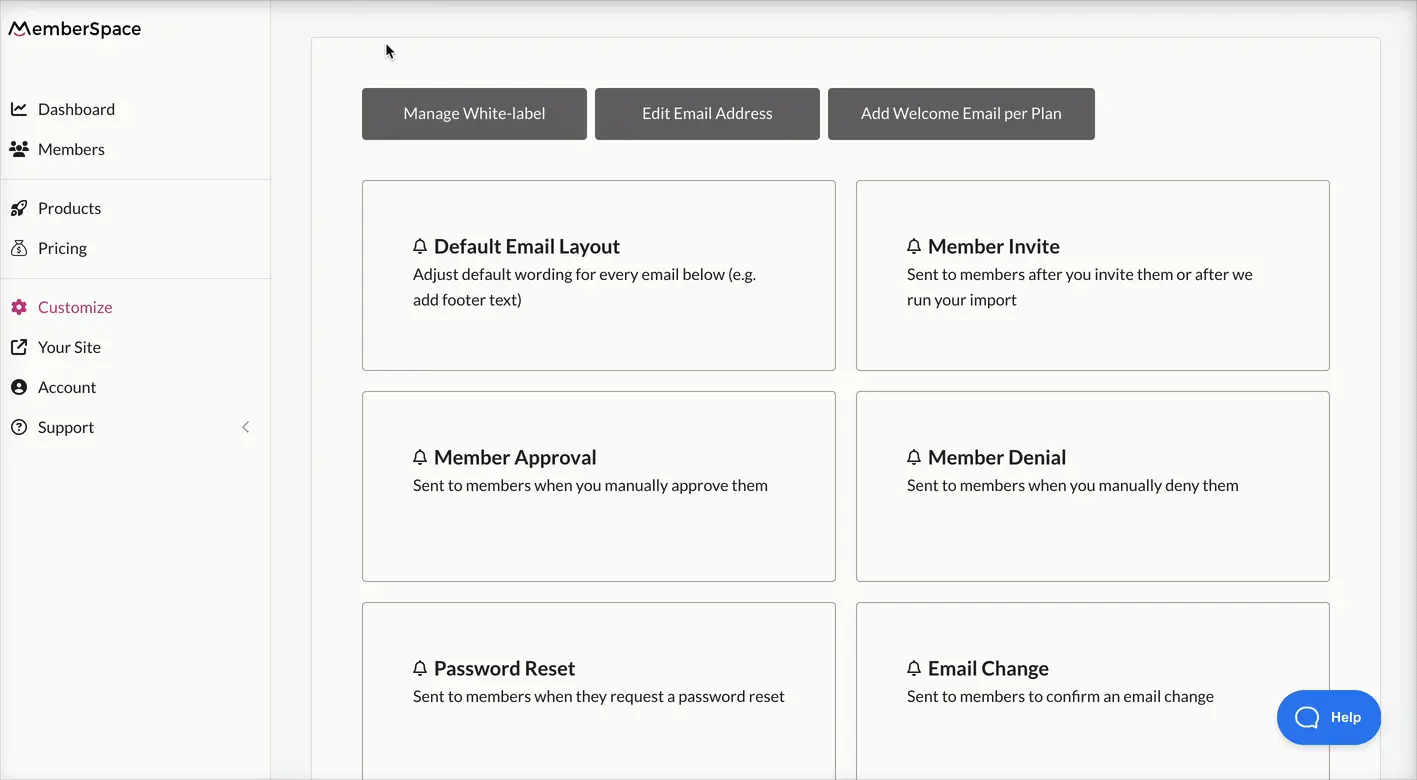
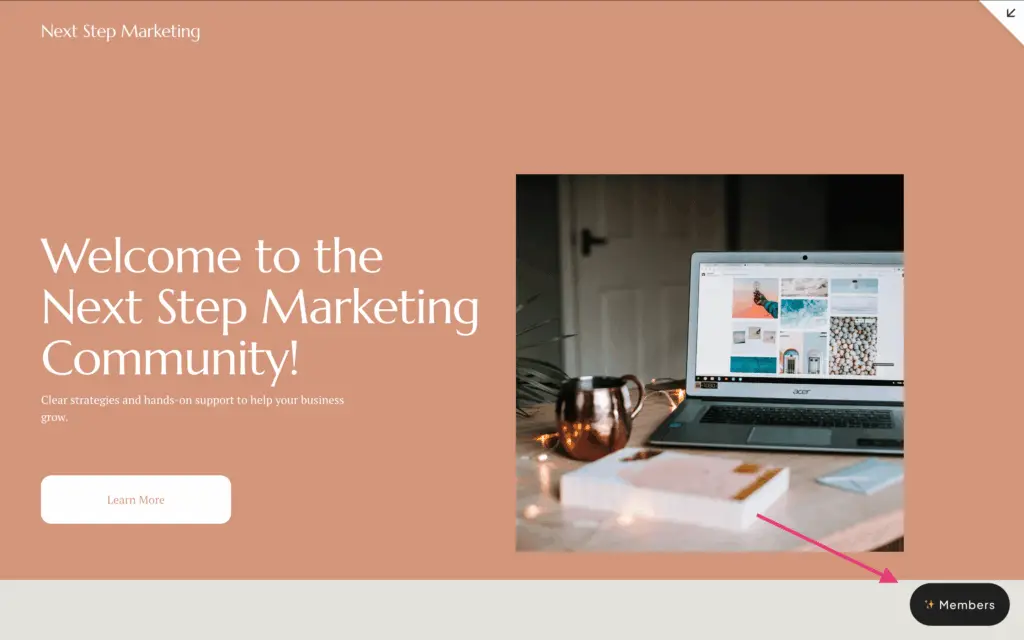
How do members get access to the Facebook group after they pay?

After someone signs up and pays on your website, you can:

  • Redirect them to a members-only page with the Facebook Group link
  • Send an automated welcome email with the group link
  • Redirect them directly to the Facebook Group to request access

You’ll still approve members inside Facebook, but you’ll know requests are coming from people who already paid.

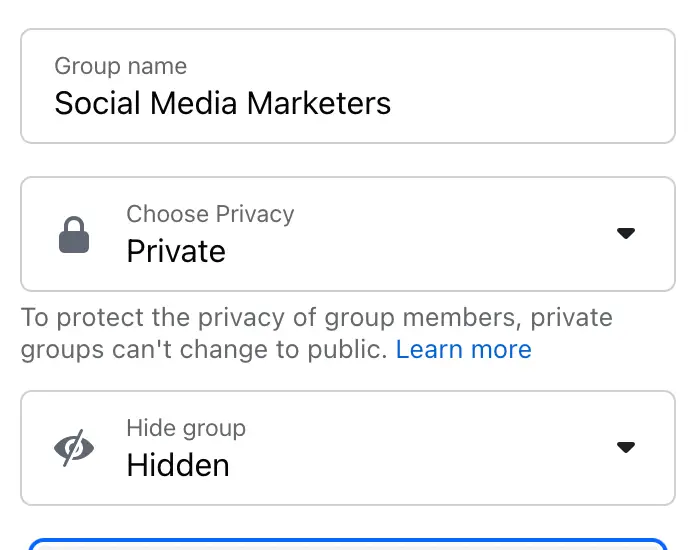
How do I keep my paid Facebook group private and secure?

Set your Facebook Group to Private and Hidden, and only share the group link with paying members. This keeps your community exclusive, prevents non-members from finding the group, and makes moderation much easier.

Is a paid Facebook group worth it?

For many creators and entrepreneurs, yes. Paid Facebook groups can generate recurring revenue, create a more engaged community, and provide a simple way to connect with members—especially since many people already use Facebook regularly.

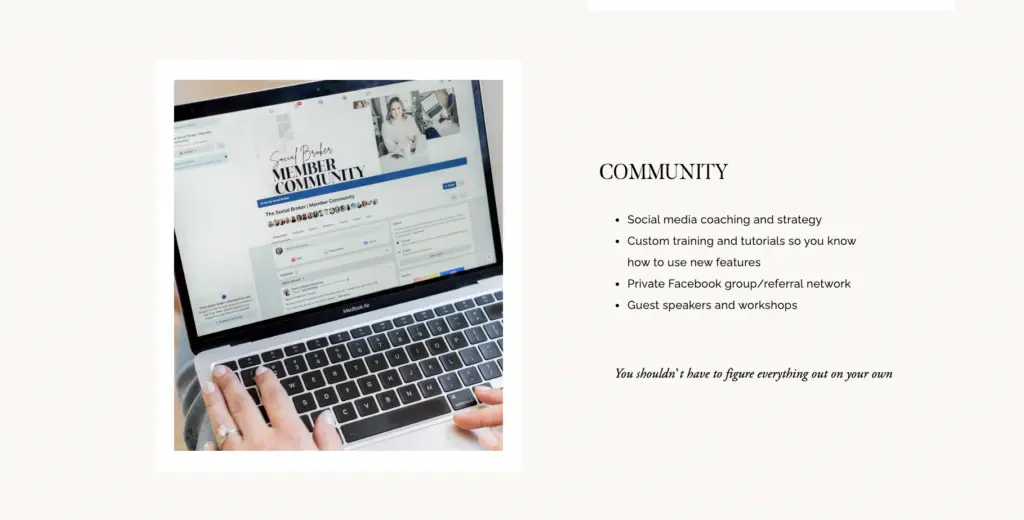
Can I sell more than just Facebook group access?

Absolutely. Many successful paid Facebook groups include additional perks like coaching calls, workshops, courses, templates, or a content library. Selling access through your website gives you full control over pricing, bundles, and what members receive.

Final Thoughts

Creating a paid Facebook Group is a great way to build a community around your expertise while adding a new revenue stream. MemberSpace makes it easy to set up and manage your paid group. You’ll be able to control your pricing, decide what perks to offer members, and keep your group private and secure. To get started, sign up for a free MemberSpace trial, and let us know if you have any questions – our support team is happy to help!

Create your paid Facebook Group!

The easiest way to accept membership payments or one-time charges for digital products like online courses, communities, content libraries, and more — all from your own website!

Get started for free! 5 minutes to set up.