Haiden Hibbert
If you’ve searched for a way to create a private YouTube channel for your community – chances are you’ve come up short or found a complicated workaround that requires a ton of manual work. There really isn’t a straight forward way to set your channel to private, but there is an alternative to manage access to your videos and provide exclusive content to a community of subscribers.
In this post, we’ll walk through how to set up a private YouTube “channel” on your own website! With this approach, you can embed your YouTube videos on your site, restrict access to them, and allow your community to subscribe for paid or free access to your content!
Join our free workshop!
Learn how top revenue generators set up their video libraries and sell access using MemberSpace. We’ll walk you through the process step-by-step.
Table of Contents
Step 1: Set your exclusive videos to “unlisted”
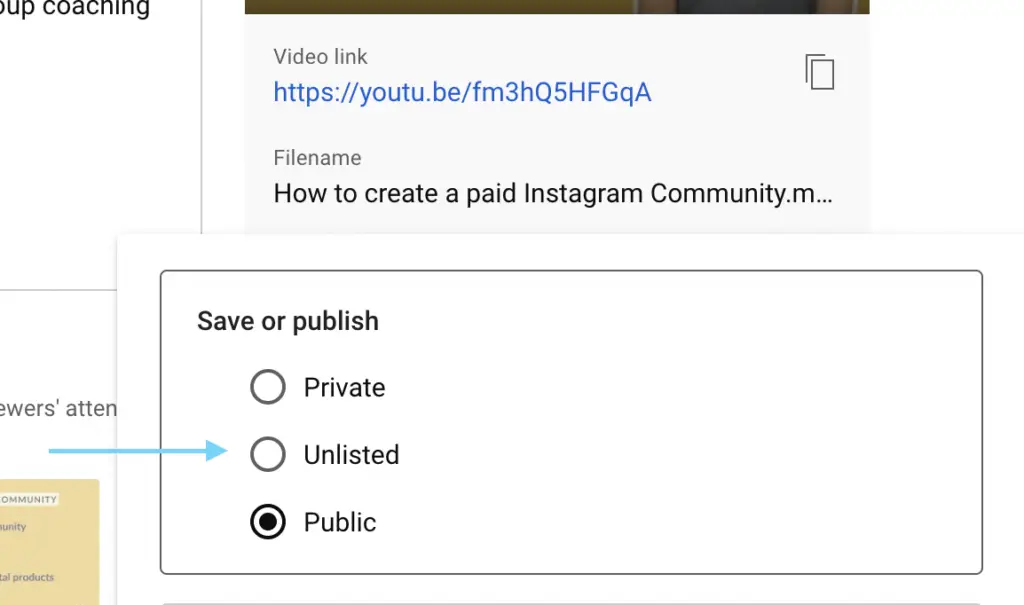
The first step is to decide which YouTube videos you want to be part of your private subscription and then set them to Unlisted. You can change the settings for existing videos by opening up the video, clicking Edit, and changing the visibility from Public to Unlisted. For future videos, you will simply set the video to Unlisted before it gets published.
Making a video Unlisted means that anyone who has the link to the video can view it, but these videos don’t show to viewers in the Videos tab of your YouTube channel page or in YouTube’s search results.
Step 2: Install MemberSpace on your website
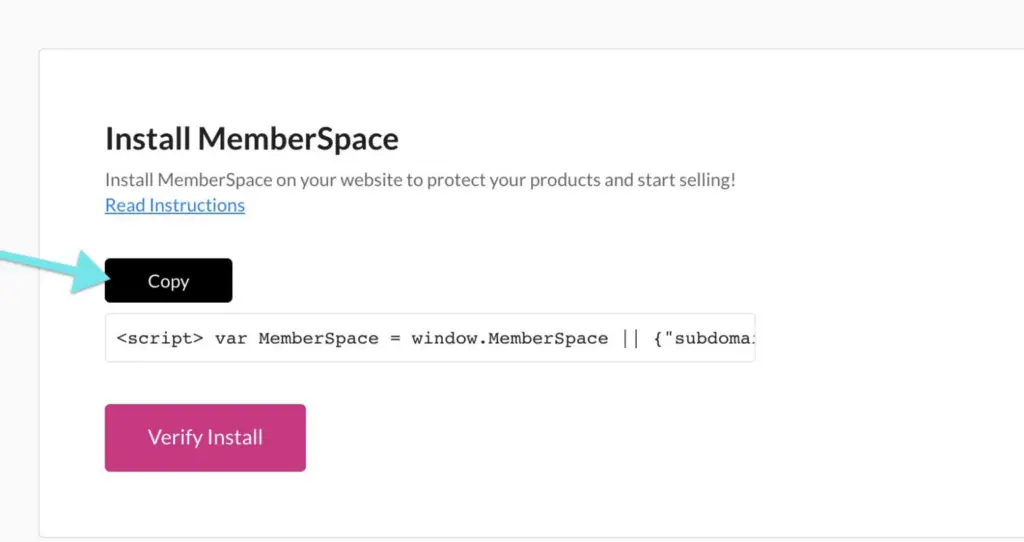
To protect your private video content, create subscriptions, and accept payments on your website, you’ll need to install MemberSpace. This takes just a few minutes and works with any CMS!
Step 3: Protect your YouTube videos
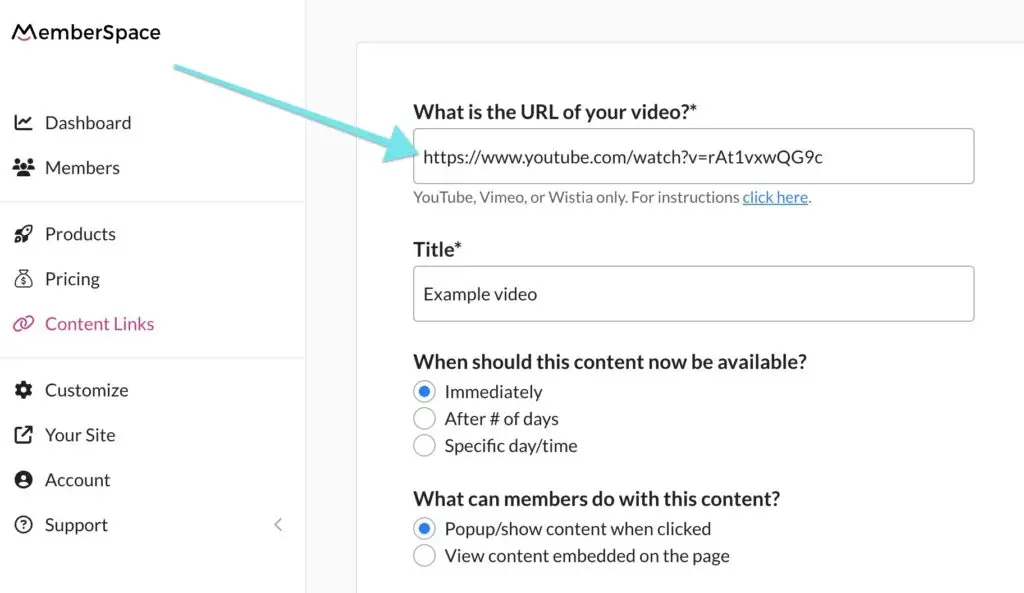
After installing MemberSpace, you’ll need to upload each Unlisted YouTube video to the MemberSpace backend. This will create Content Links, which provide the highest level of security for your videos and create a unique, secure link for each video that is only accessible to subscribers when they are signed in on your website. You can either place or embed these links on your website pages.
If you need some guidance on how to set up your pages, check out our free workshop that walks you through how to set up your videos on your website!

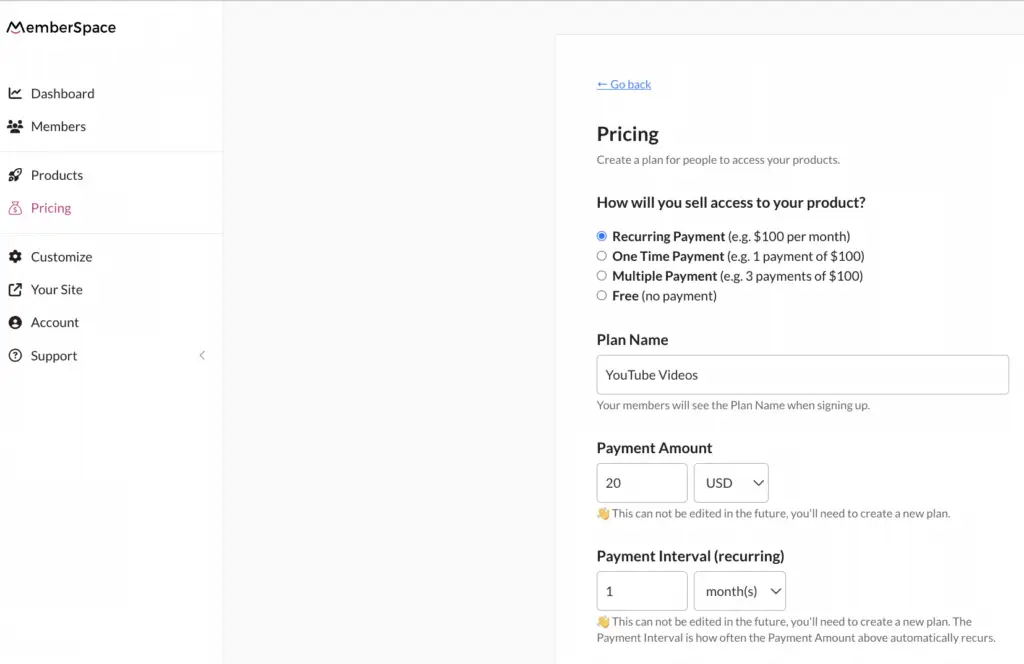
Step 4: Set a price for your videos
Step 5: Share your signup link
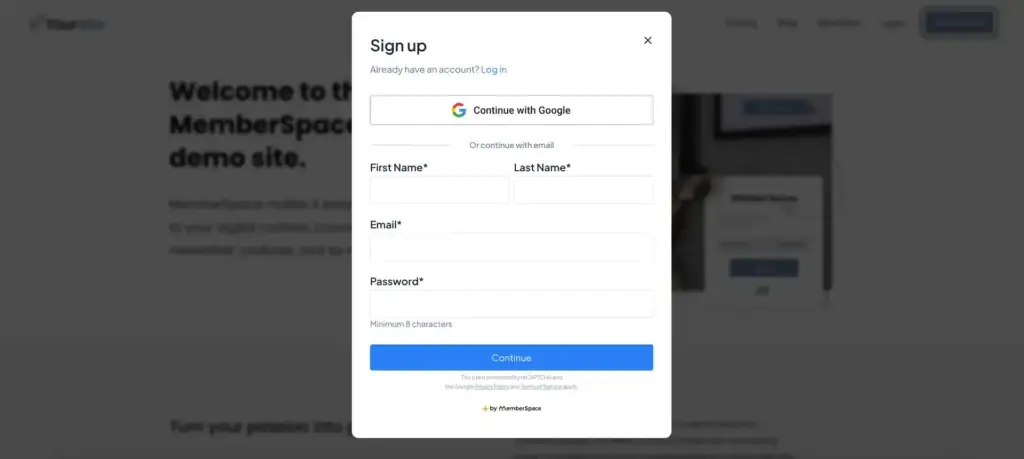
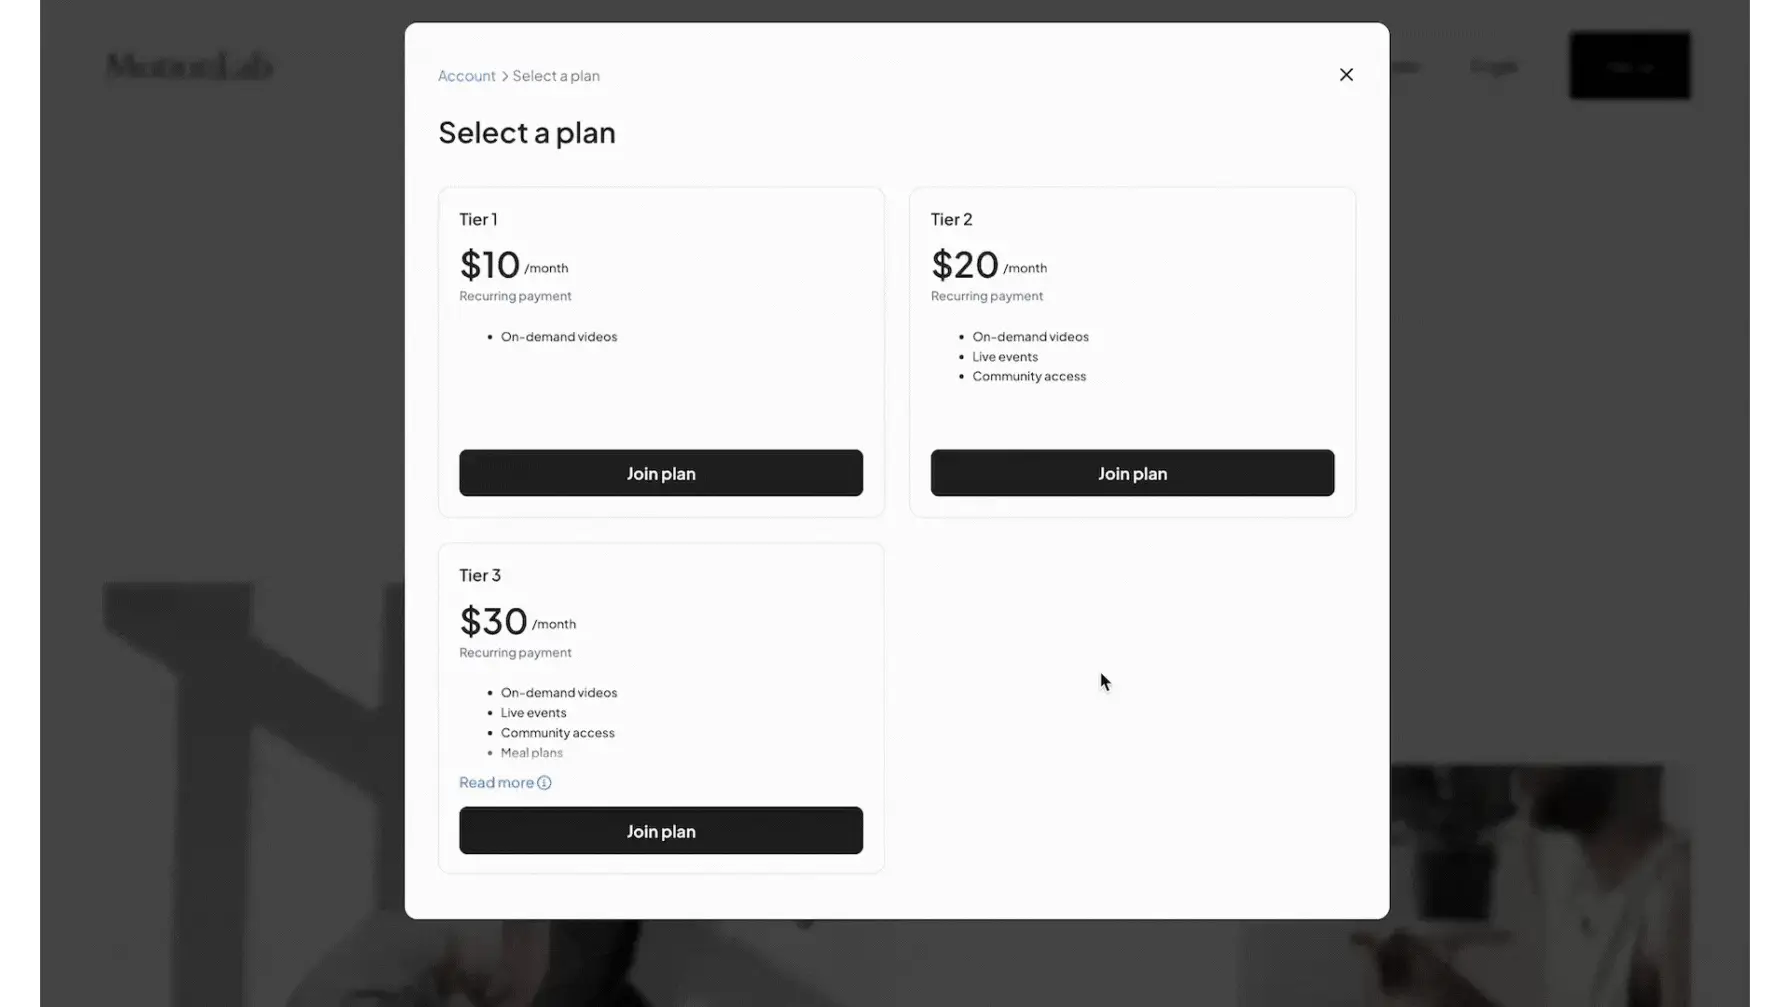
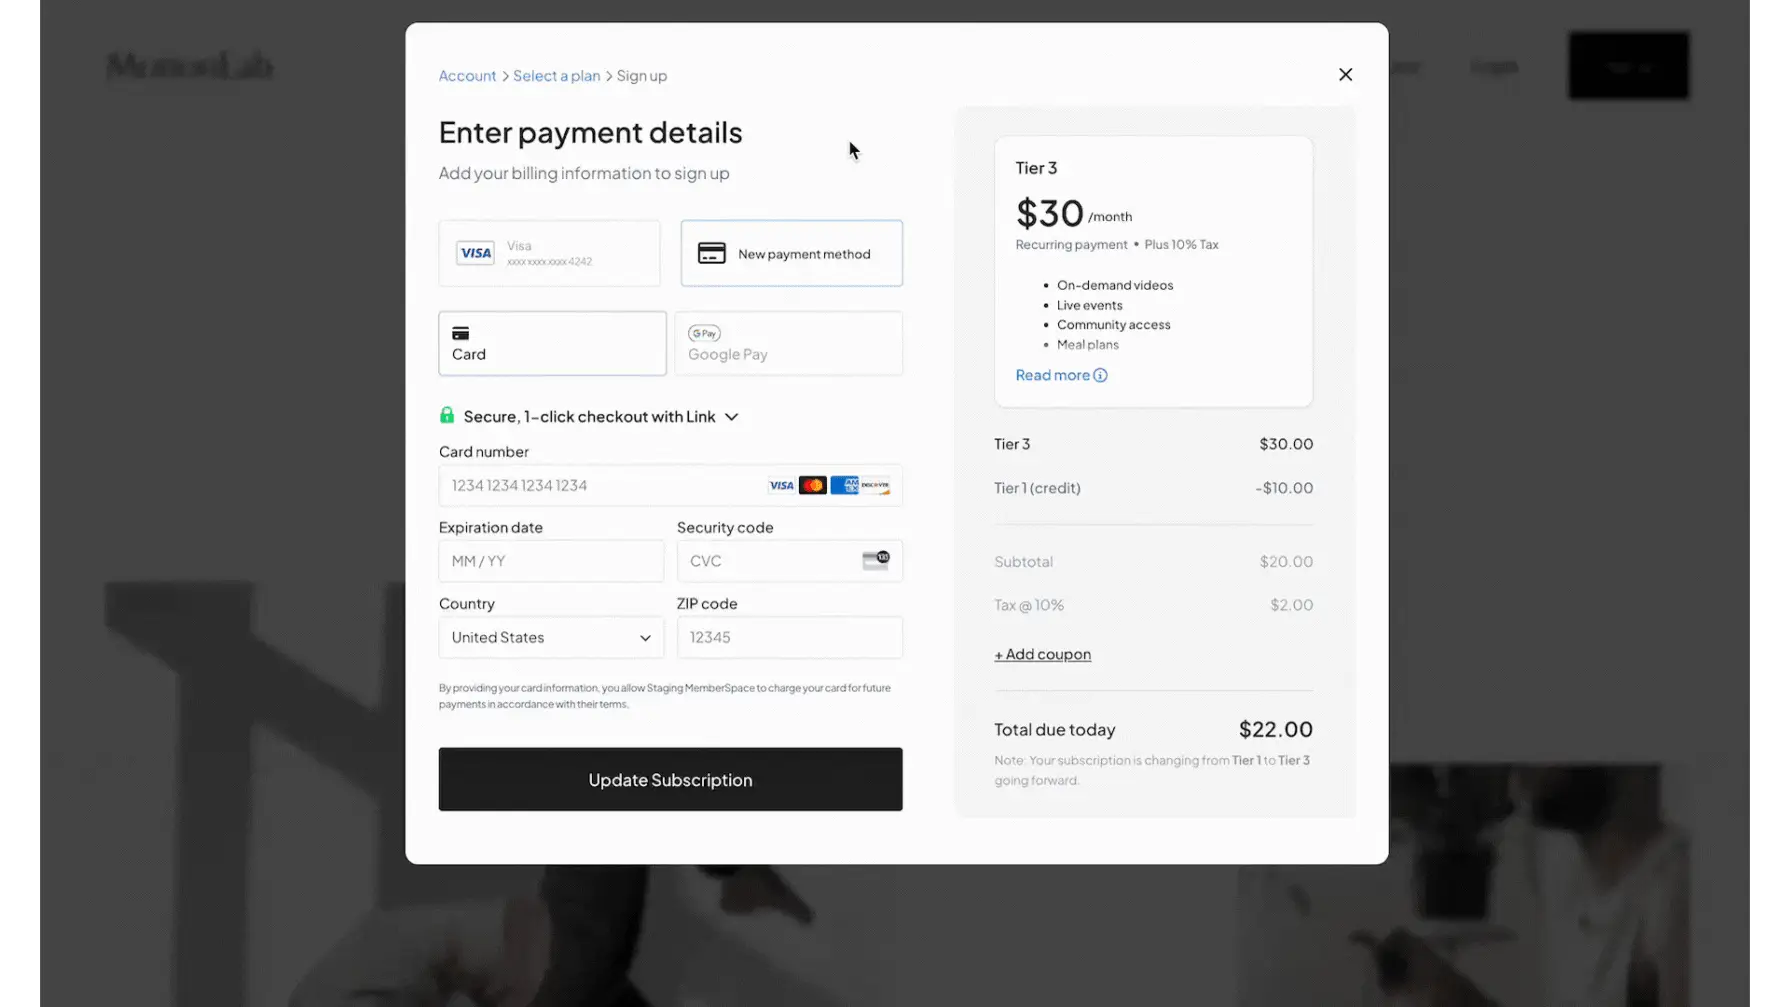
Once you’ve set up your YouTube video subscription, MemberSpace will generate a signup link that you can share with your community (anywhere you’d like – on your website, social media, email campaigns, etc). When clicked, the link opens up a sign up form on your website that requires people to subscribe and pay for access to your videos.
Final Thoughts
By following these steps, you can create a private YouTube channel on your own website, giving you full control over access to your content and the ability to monetize your videos. With MemberSpace, setting up and managing your subscription is easy, allowing you to focus on creating great content for your community. Sign up for a free trial today!
Join our free workshop!
Learn how top revenue generators set up their video libraries and sell access using MemberSpace. We’ll walk you through the process step-by-step.
