
Haiden Hibbert
Creating and selling your own online course can be a great way to share your knowledge and build a revenue stream. With the right tools, you can build a course that looks professional, is easy to navigate, and can generate income from the very start. In this guide, we’ll walk through how to use Squarespace and MemberSpace to create and sell an online course, step by step.
Sell digital products on Squarespace!
The easiest way to accept membership payments or one-time charges for digital products like online courses, communities, content libraries, and more — all from your own website!
Get started for free! 5 minutes to set up.
Table of Contents
Step 1: Develop Your Course Content
The first step in creating an online course is to plan out your content. Start by outlining the main topics you’ll cover. Once you have those, break them down into manageable modules or sections.
Each module can include:
- Video lessons
- Downloadable materials like PDFs or worksheets
- Quizzes to test your students’ knowledge
- Certifications, if applicable
Take your time with this step. The better you organize your content, the easier it will be for your students to follow along, and the more professional your course will look.
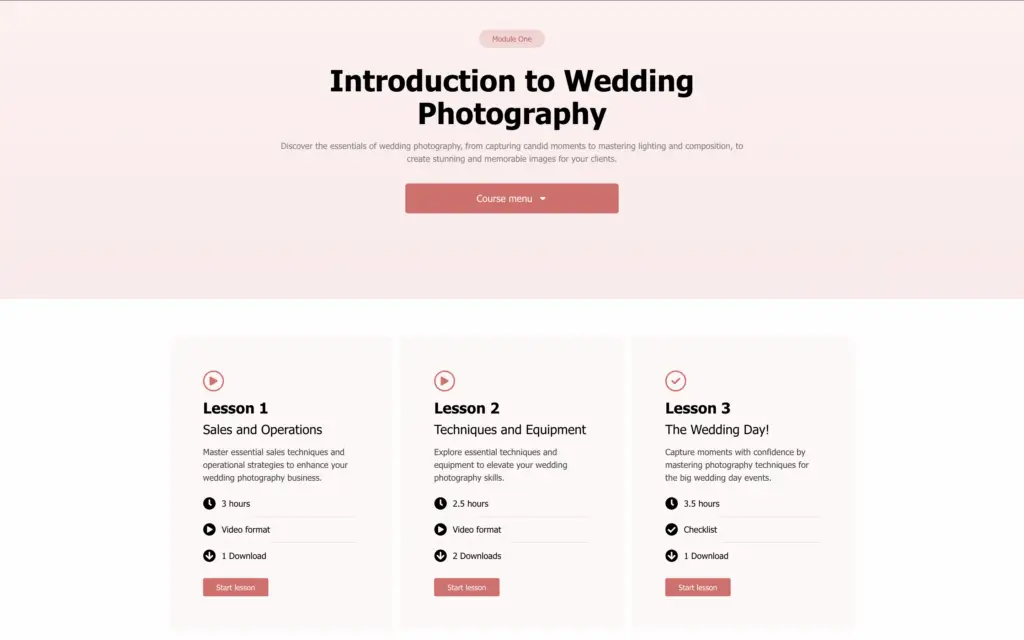
Step 2: Set Up Your Course Pages in Squarespace
Once your course content is ready, it’s time to add it to your Squarespace website. One of the best things about using Squarespace is that you have total control over how your course looks and feels.
Here’s a simple structure to follow:
- Create a page for each module – This page will act as a hub for all the lessons in that module.
- Add individual lesson pages – Each lesson should have its own page, with the video at the top, a brief description, and any downloadable materials or quizzes.
- Include navigation buttons – Make it easy for your students to move between lessons by adding “Next” and “Back” buttons on each lesson page.
By keeping everything organized and easy to navigate, your students will have a smooth learning experience, which helps them stay engaged with your course.
Organize Your URLs
A clear, logical URL structure is important for both you and your students. You want to keep things tidy and easy to navigate, especially as your course grows over time.
Here’s an example of a clean URL structure:
- YourSite.com/members/module1
- YourSite.com/members/module2
- And so on…
This not only helps with course organization, but it also makes it easier for your students to find specific content if they need to revisit it later.
Step 3: Protect Your Course with MemberSpace
Now that your course pages are set up, you need to protect your content with a tool like MemberSpace. MemberSpace adds advanced membership features to your Squarespace site to help you generate more revenue, and it and allows you to lock specific content pages, so only those who signup can view your online course content.
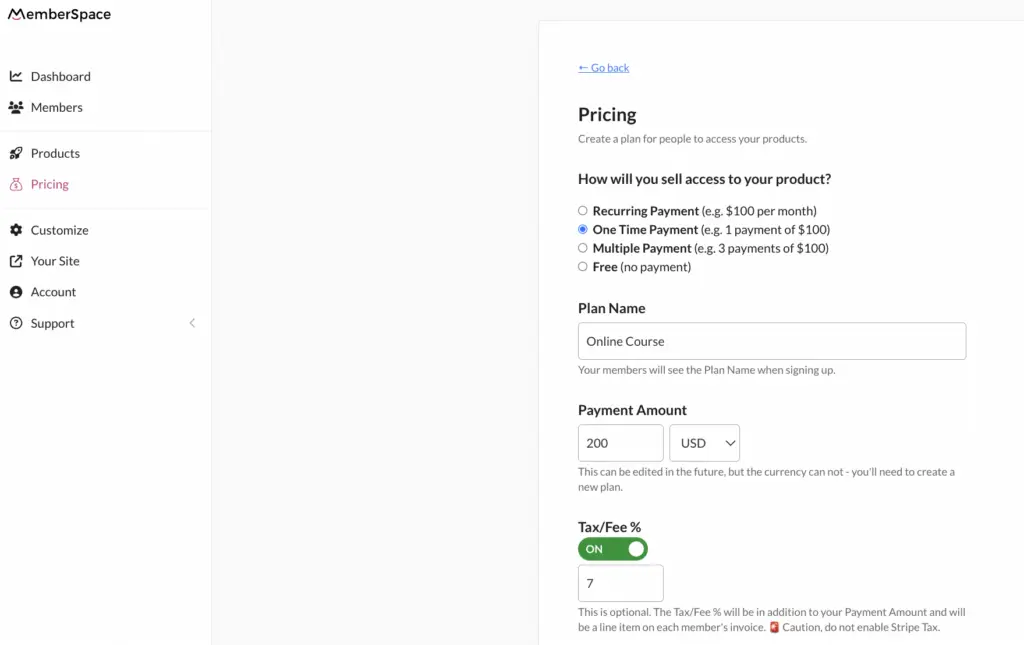
Step 4: Set Up Your Pricing Options
Deciding how to price your course can be tricky, but there are a few common options to consider:
- One-time payment – Great if you’re selling the course as a standalone product.
- Subscription model – Ideal if your course is part of a larger membership or if you plan to offer ongoing content.
- Payment plans – Perfect for higher-ticket courses that might be out of reach for some students as a lump sum.
Another popular strategy is to offer the first lesson or two for free. This gives potential students a taste of your course and might encourage them to purchase the full version.
Once you’ve decided on pricing, you’ll receive a sign-up link from MemberSpace. Add this link to a “Purchase” button on your website,. When someone clicks the link, they’ll be prompted to sign up and pay.
Step 5: Promote Your Course and Start Selling
With everything set up, you’re ready to start promoting your course. Use social media, your email list, and even blog posts to drive traffic to your course landing page.
Remember, this is just the beginning. As you gather feedback from students, you can improve your course by adding new content, offering additional digital products, or even raising your prices as the value of your course grows.
Here are a few ways to keep your course competitive:
- Add a student forum for discussions.
- Host live Q&A sessions to engage with students.
- Include expert interviews as bonus content.
- Build a library of supporting materials like additional readings or case studies.
By continually adding value to your course, you’ll keep your students engaged and increase the lifetime value of each customer.
Final Thoughts
Building and selling an online course on Squarespace is not only doable, it’s a powerful way to grow your business. With the help of MemberSpace, you can easily lock your content behind a paywall, ensuring that only paying students get access. As you grow, you can continue to enhance your course and boost its value, creating a long-term revenue stream for your business.

Need help setting up your online course?
Connect with our friendly team, weekdays 10am - 6pm ET.
Let's chat!