Haiden Hibbert
As a small business owner or entrepreneur, you may have a wealth of digital content, documents, and resources that you want to share with your audience. By creating a content library on your WordPress website, you can monetize your valuable assets and provide your customers with easy access to the information they need. In this blog post, we’ll explore what a content library is, how to choose the right plugin for your needs, and step-by-step instructions on how to create your own WordPress resource library. And don’t forget to download the free theme to help you get started!
Download a free WordPress content library theme
A content library template for the Elementor Plugin on WordPress.
Table of Contents
WordPress content library tutorial
What is a WordPress content library?
A content library, also known as a resource or document library, is a collection of digital content like videos, online courses, PDFs, and templates, that you can offer to your audience. Some business owners and creators choose to offer free content libraries, while others use it as an opportunity to add a new revenue channel and earn passive income.
Types of content to include in your resource library
Your resource library can be anything you want it to be! Here are some popular content types to consider including:
- Ebooks
- PDF guides
- Online courses
- Videos
- Templates
- Stock photos and videos
- Ready-to-use social media posts
How to set up your WordPress resource library [FREE TEMPLATE]
To help you organize your resources on your website, we created a free content library theme that you can use as a guide.
Here’s what’s included:
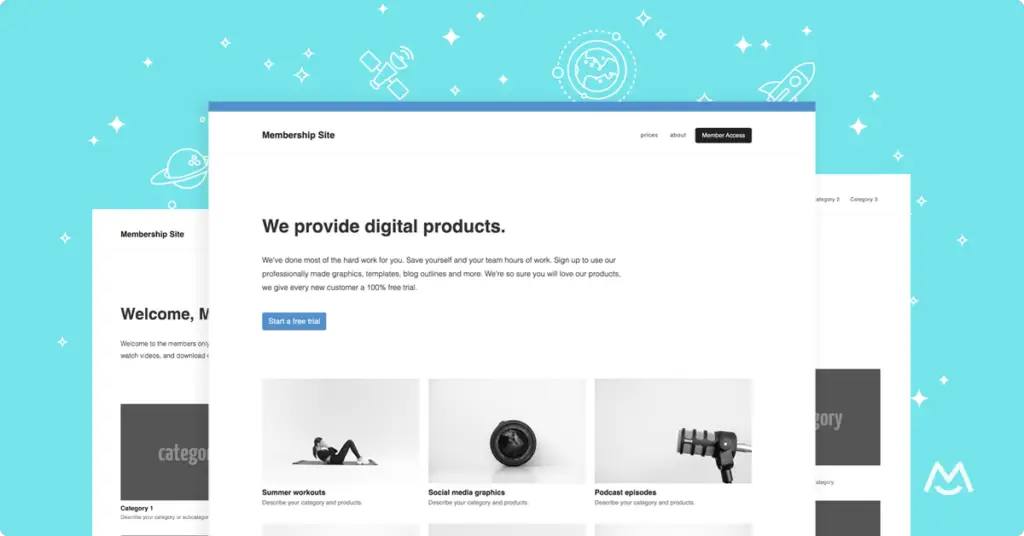
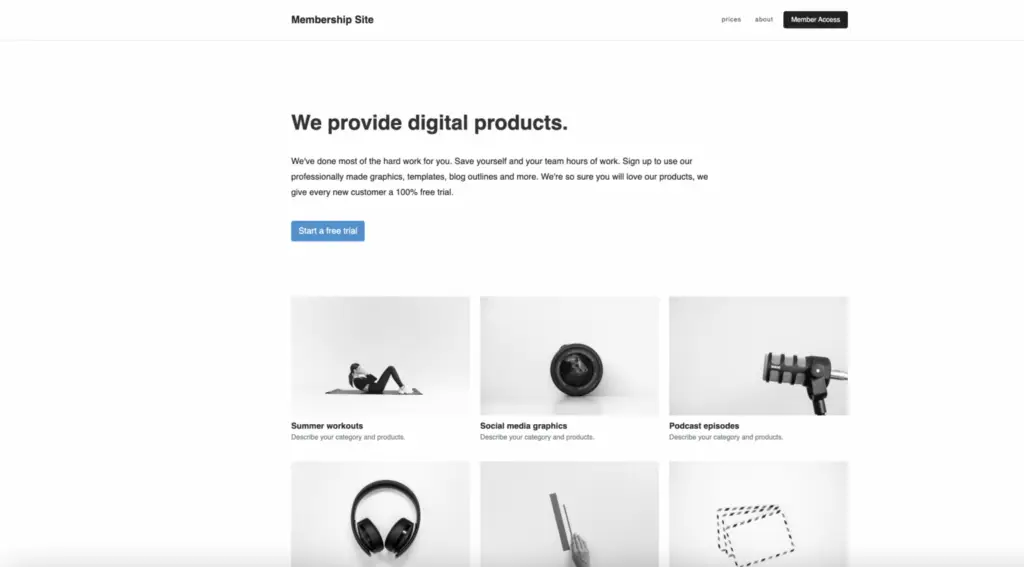
- Sales Landing Page: A public-facing page where potential members can learn about your content library and sign up. Showcase previews, highlight key resources, and add a clear CTA for joining.
- Members-Only Homepage: Once members are logged in, they’ll access this exclusive homepage displaying all content categories and resources, making it a central hub for easy navigation.
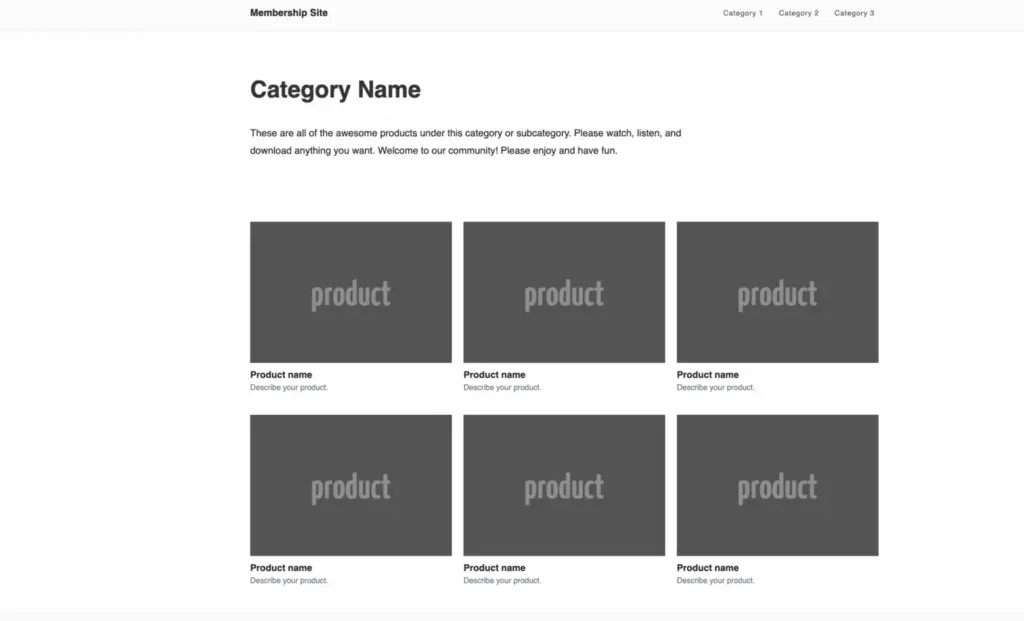
- Category Pages: Keep similar resources grouped together, so members can browse by type or topic.
- Sub-Category Pages: Add another layer of organization for large collections, ensuring a smooth user experience.
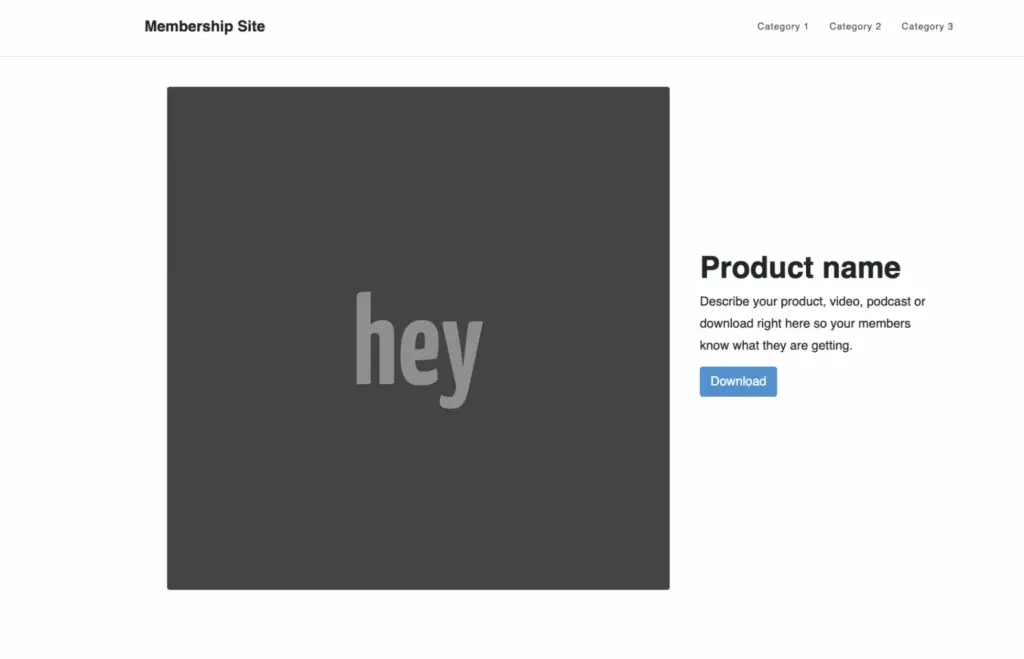
- Product Pages: Dedicated pages for each resource, whether it’s a downloadable file, video, or template, allowing members to easily access individual items.
The following section will walk you through how we recommend structuring your website pages, with example URL structures in the captions!
Step 1: Add your content library pages to your website
- A sales page to advertise your content. Share information about what’s included in the resource library, pricing, and clear call-to-action buttons.
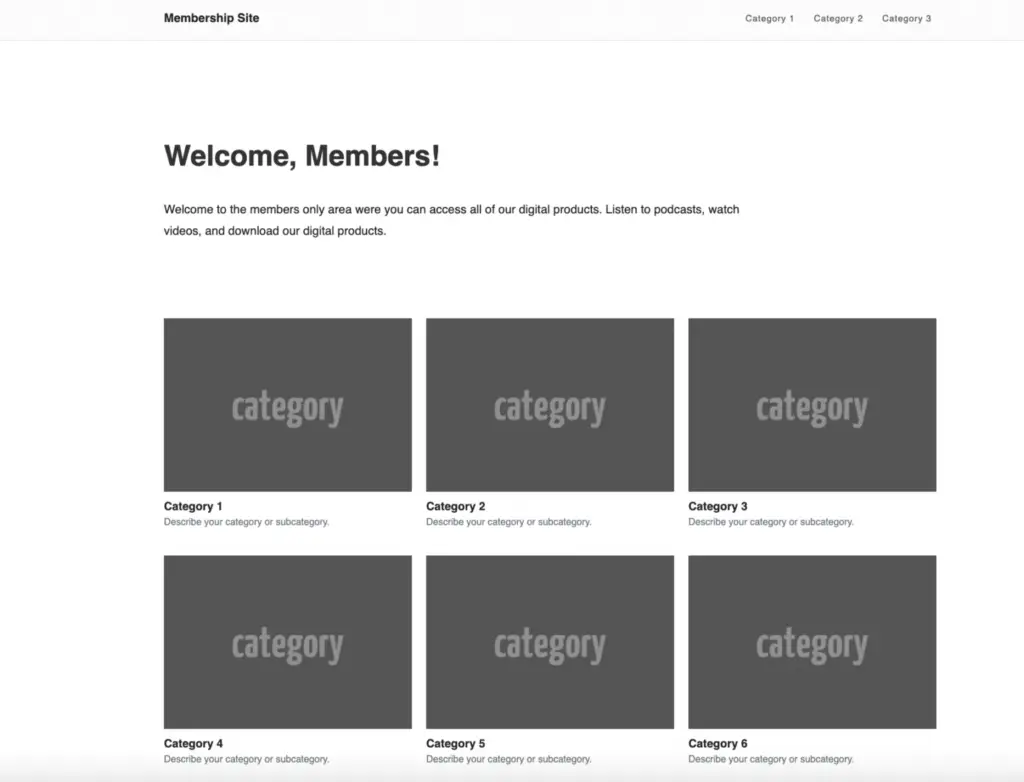
- A members-only homepage, which should be the first page customers see after they pay to access your resources. Show a preview of your documents by category and link each category to its own page.
- Category pages that should display all the content, documents, and resources within a particular category. Link each resource to its own page for members to download or view the content.
- Content pages that will house a single resource, such as a template, video, or PDF.
Step 2: Install the WordPress document plugin, MemberSpace, to password protect your pages
It takes just a few minutes to install the WordPress plugin, MemberSpace.
- Log into your WordPress admin site and click Plugins on the lefthand side. Keep in mind, you’ll need to be subscribed to their Creator plan or higher to install MemberSpace.
- Then, search for MemberSpace and select the plugin.
- Click Install and Activate.
- Select Manage Plugin.
- Click Configure Settings > Create your account.

Once you’ve installed MemberSpace and created your account, it’s time to connect your website, protect your content library pages, and set up your pricing!
Here’s how it works:
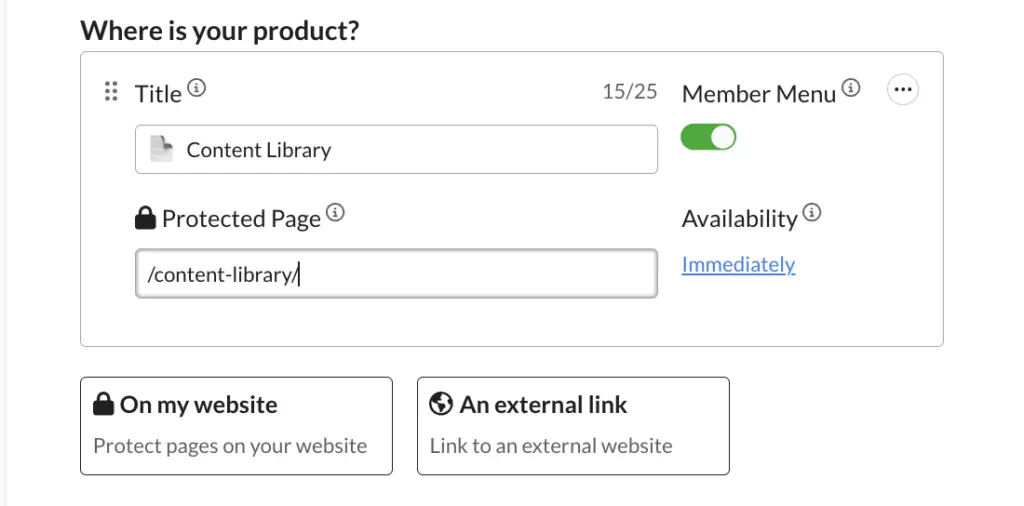
1. Add your content library to MemberSpace and protect your members-only pages. You’ll simply add the URLs for your documents and resources, and MemberSpace will restrict access to them, requiring members to sign up and pay to view them.
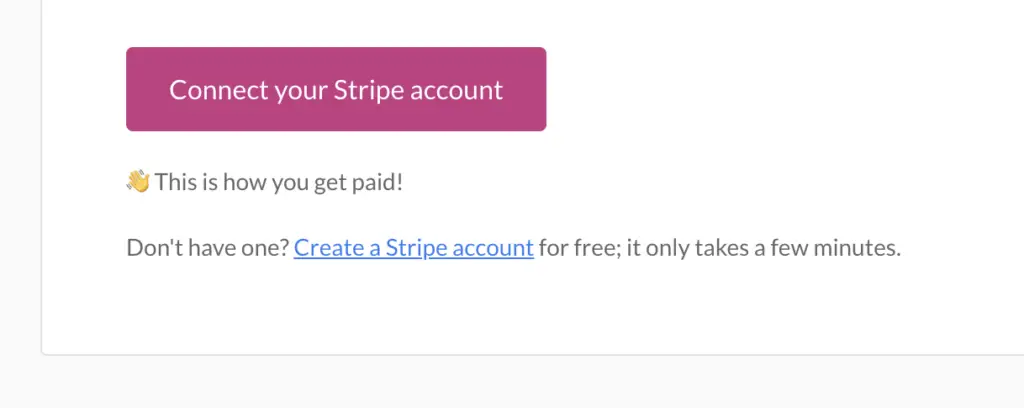
2. Connect to Stripe to handle payments securely. If you don’t have a Stripe account, it only takes a few minutes to set one up.
3. Set a price for your content library. MemberSpace offers flexible pricing options, including one-time, recurring, or multiple payments, as well as a free tier. However, recurring payments are the most popular option for content library memberships.
4. Click Verify Install.
Now people can visit your website and join your plans to get access to your content library resources!
Step 3: Promote your WordPress resource library
Once your content library is set up, it’s time to promote it to your target audience! Here are some ideas to get you started:
- Share previews of your resources on social media to generate interest and drive traffic to your sales page.
- Write blog posts that highlight the value of your content library and include calls-to-action to encourage readers to sign up.
- Offer a limited-time discount or a free trial to incentivize potential members to join.
- Reach out to influencers or bloggers in your niche and offer them complimentary access in exchange for a review or promotion.
- Include information about your content library in your email newsletter and encourage subscribers to sign up.
Final Thoughts
Creating a content library on WordPress is a fantastic way for business owners, entrepreneurs, and creators to add a new income stream to their existing business, monetize their specialized knowledge, and grow their online community.
Continue to add valuable resources over time and engage with your audience! This is the best way to steadily grow your membership business.
Download a free WordPress content library theme
A content library template for the Elementor Plugin on WordPress.


